When asked about feedback on a test ride, on these new high-end MTBs, I’m a terrible critic. “Awesome, it was awesome,” is my typical response. Truth is, they really are. If you’re more stoked about doing a ride, any ride, than you are about criticizing the nuances of a ride, then maybe you aren’t the best reviewer. Fair. I suck at digging dirt on sick bikes. Indian, not the arrow philosophy cutting my dreams of being a paid gear junkie. That said, there is a lot of “awesomeness” left dormant for those of us not as in tune with our…tunes. The ShockWiz product offered me the feedback that my lizard brain struggled to identify. What is ShockWiz? Are Denver area bike shops carrying it?
Short version: these little computers interface with the suspension system to record all movement. User generated force, trail force, air time, impacts, etc. All data is then compiled in the ShockWiz software and recommendations are made to optimize rider experience.
Sweet! It tells me what to make better? Yes.
Being just talented enough as a home mechanic to get myself all tangled up in cable housing and b-gap adjustments, I was fortunate to have software to direct my tinkering. Let’s give it a go!
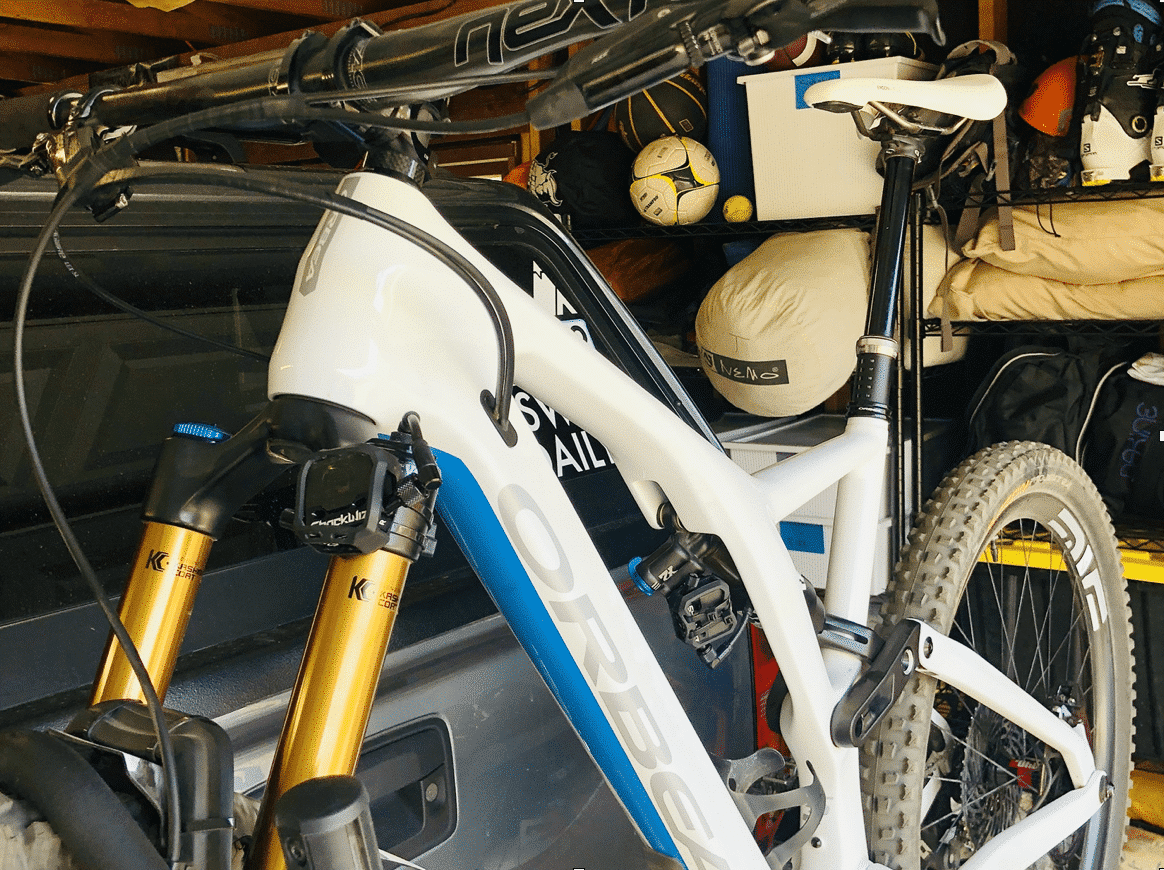
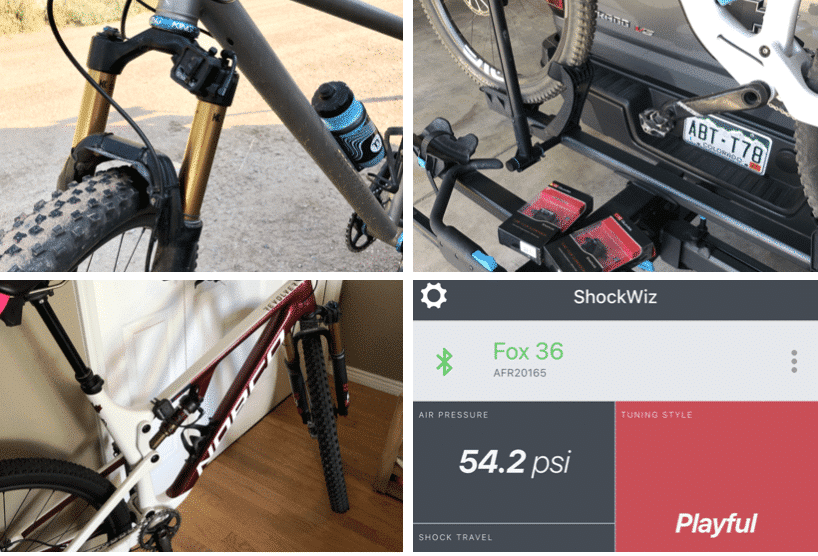
Installing the ShockWiz took less than 10 minutes and the phone app directed me through the initial setup process. After attaching it to my shock and fork (NOTE: I used two devices so I could tune front and rear simultaneously), I followed a process of emptying the air, performing limit sets with compressing and extending the shocks, and resetting the air per factory recommended specs. I decided to use my specs prior to installation (easy enough to see when starting the setup) so I could see how optimized my “this feels good” setting really was. I knocked this out at the trailhead prior to our group ride and got faster at it on each of my bikes. With the devices installed all I had to do was ride. I didn’t need the app opened, or even my phone with me. Per recommendation, I left both my fork and shock in the “open” position for data collection.
Knowing that these nifty little gadgets record air time, I went full-send-mode descending Parmalee and Mt. Falcon. I wanted to know how gnarly I really was. With an average air time of only a 1/2 second I learned my “gnarly send” wasn’t Red Bull TV worthy after all.
Following the recommended rule of doing at least a few rides, or loops, before making adjustments, I headed out on 3 sequential days to ride different types of local trails. With a good bit of data compiled, I took a look at the app statistics and recommendations. Prior to this info being available, I had always relied on the position of the little dust wipers on the fork/shock to indicate if my setting was optimal. After 3 rides the wiper indicated I was spot on, just near the end on both. I was wrong, and by a bit.
The first round of testing showed I had too much air, too fast rebound, compression was off, and I could use a spacer. What?!? Felt fine! C’mon…
Like a good amateur gear tester, I made the changes. This is a scientific experiment after all. Just ask my wife whom I told I MUST RIDE, again. IT’S FOR SCIENCE! The app shows a “green”, “yellow”, or “red” mark in either direction for adjustments to be made and following that guide I decreased air by 10%, added 2 clicks this way, and 2 clicks that way. With the tinkering done per the app recommendations I went back out.
Again, I always think it’s good. Now I think it’s better. My bike seemed to engage and release differently from corners, pumps in the trail, and super-sick 1/2 second drops. It seemed to be smoother. Excitedly I checked the data. Still not there…
More tinkering, albeit not much, really I just needed to let out even more air?! Okay, out it goes. This was the most revealing piece of information. I ran my shock/fork with far too much air pressure.
Even though my dust wiper usually indicates “full use” I learned that I may get full fork use on a single hit, or bump, in a ride but I’m not getting all of the action available with a proper setting.
Round 3. It rode better.
Not better. WAY BETTER. For the final round I hit Floyd Hill, a local purpose built downhill course. Previously I found myself fighting my bike at times to clear all of the table top jumps, hit-to-berm transitions, and roll in/out of rock drops while maintaining speed. This final ride saw my bike doing all of these things without much effort by the Neanderthal rider.
Ultimately I ended up adjusting air pressure down by 20%, tweaked low and high speed compression and rebounds, and learned that while my bike always performed well, there was much left on the table. ShockWiz gave me the confidence to tweak these settings and the data reinforcement to know if what I was doing helped optimize my experience without relying on my, often basic and rosy, understanding of a “good ride”.
Since this initial testing…
I’ve used ShockWiz to setup my XC race bike, my singlespeed (SS) race bike, and my wife’s trail bike. With the exception of some needed adjustment to compensate for the abuse a SS fork gets, the testing became smoother each round and left me with optimized settings on my fleet.
Would I buy ShockWiz? At $300 per device the feedback is something that cannot be attained by a bike fit, a SAG setup, or by feel. If you have a single bike I’m not sure how much use the device would get after initial setup. If you can’t get ShockWiz for free under the premise that you butcher a gear review and share it with your local shop who willingly let you try this newfangled device out…well, I’d definitely recommend renting one for a week so you could do the “3 Ride Rule” and find your personalized settings. Eh-hem, the goal of getting you all ShockWiz stoked from this review…
Gear guru I’m not, but “gimme all she got” I am. This device isn’t necessary for you to enjoy your MTB but I do think it’s necessary to guarantee you are FULLY enjoying your MTB.